

Set validity date for individual sales items
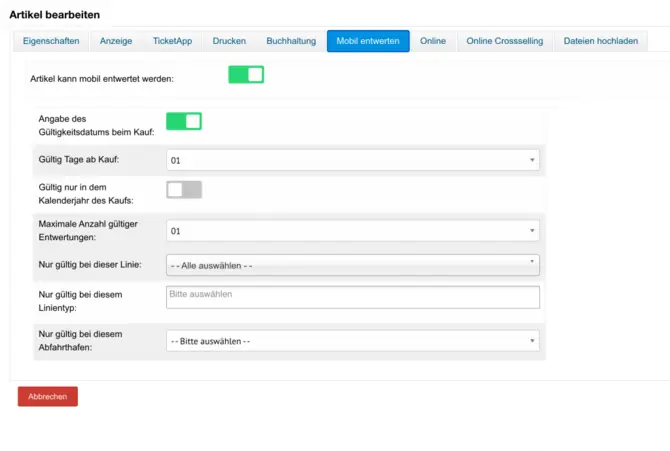
When creating single-sale items, such as a day ticket, you can set a validity date. This date is taken into account during mobile admission control and ensures a smooth process.
Here are the steps to define the validity date:
- Select the relevant item in the app.
- Enter the desired validity date.
- The item is then saved in the shopping cart for the further sales process.
Make adjustments in the app
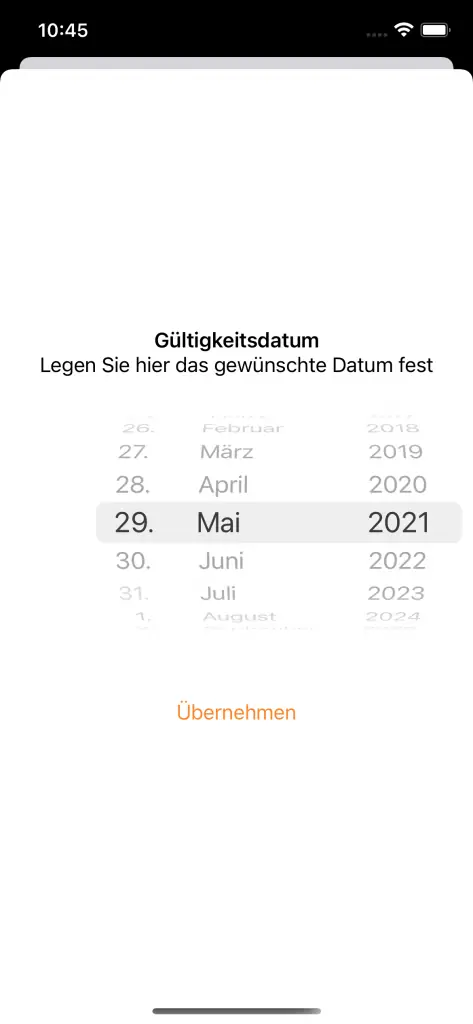
In the app, you have the option of changing the validity date at any time. This flexibility allows you to react to changes in planning or events.
The adjustment is made in the following steps:
- Go to the edit mode of the single sale item.
- Update the validity date as required.
- Save the changes to ensure that the new information is displayed correctly.


Sales and shopping cart management
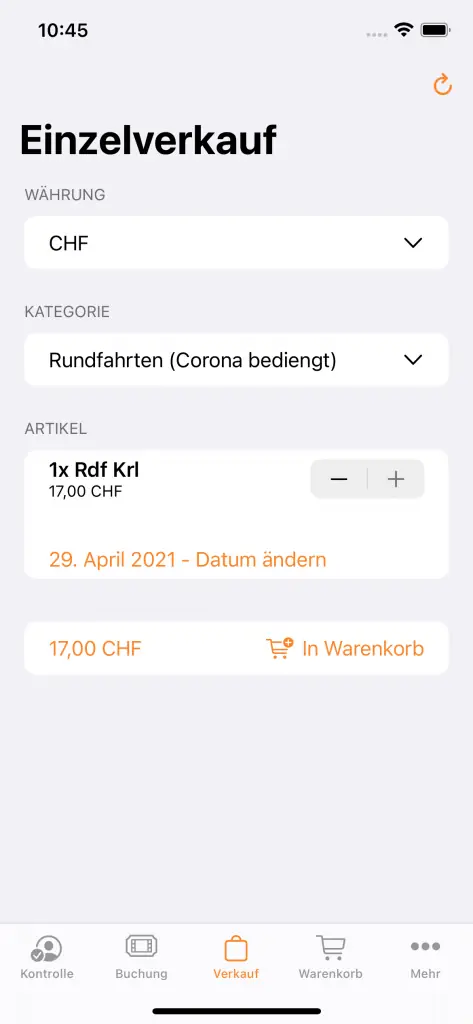
Once you have set the validity date, the item is automatically added to the shopping cart. This enables an efficient sales process within the app.
Important points about shopping cart management:
- Check the items in the shopping cart before completing the purchase.
- Make sure that the expiry date is correct to avoid misunderstandings.
- The shopping cart remains active until the sale is completed and can be adjusted at any time.
Efficient entry control
The specified validity date plays a decisive role in the admission check. During mobile control, the date is checked to ensure that the article is valid.
For a smooth entry check, you should note the following:
- Have the app ready to quickly check the validity date.
- Inform staff about the importance of the validity date to avoid delays.
- Ensure that all retail items are correctly recorded in the system.
